
Zellige Tile Pattern
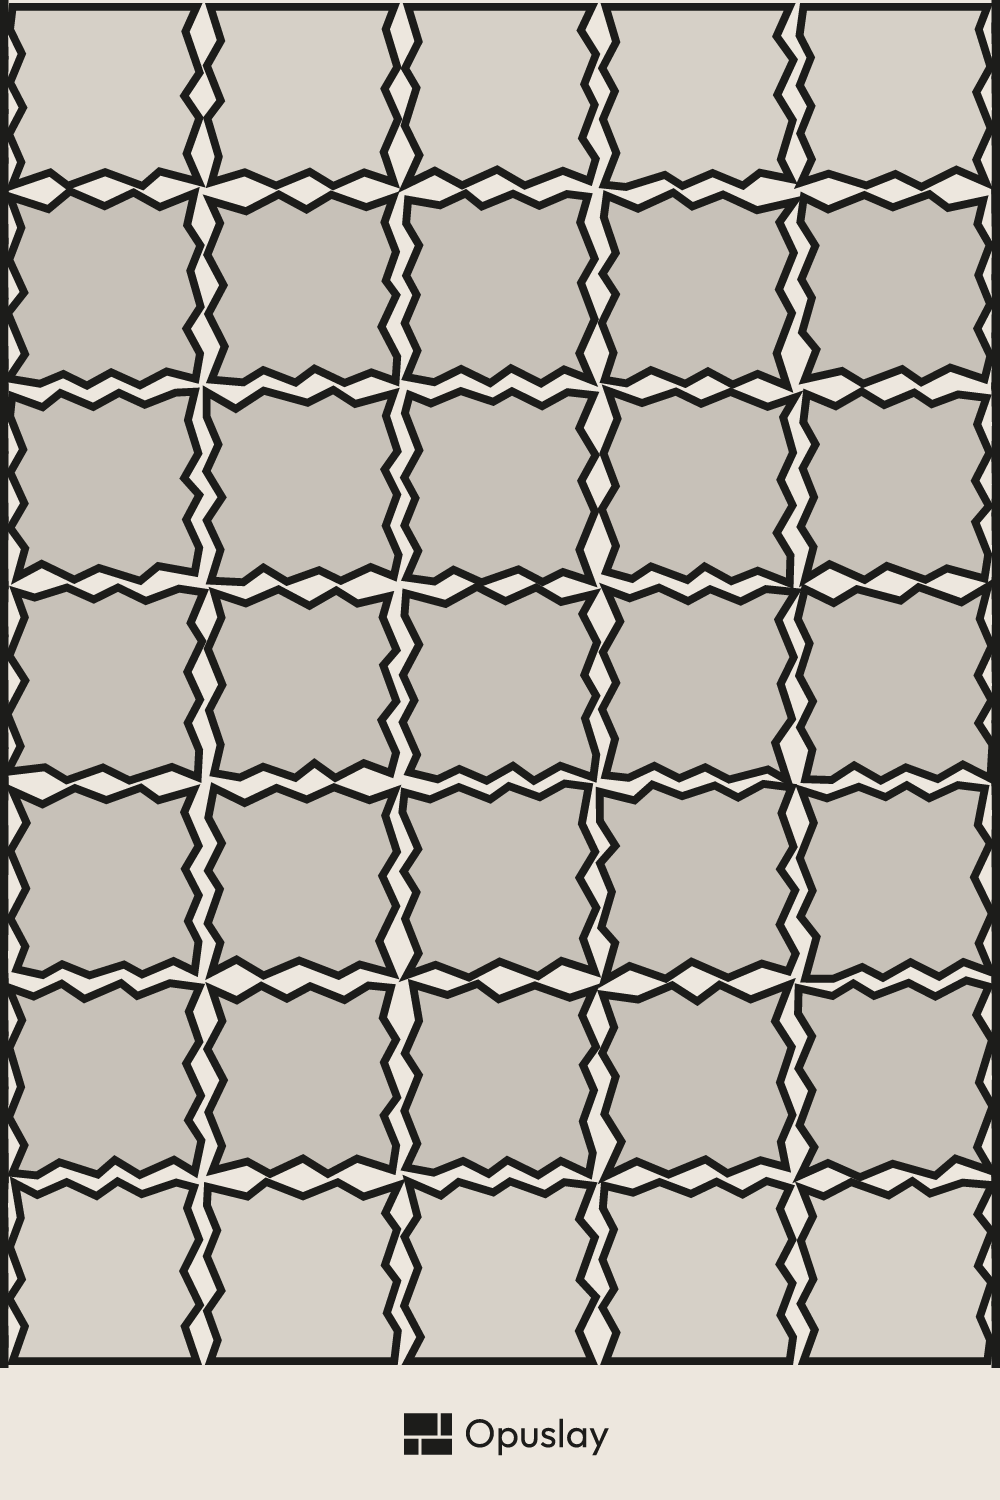
A zellige tile is a hand-shaped glazed terracotta tile, originally from Fès, and Opuslay can now draw it the way it actually looks: each tile carries its own slight bow, a soft roll to its edge, and small chips at the corners where material is missing, never added. Underneath that irregular face, the pose stays completely ordinary — a straight grid of 4x4 tiles, the same layout as any square wall tile, so the count and the cut sizes work exactly as they would for a machine-made equivalent. What genuinely changes is the joint: because no two pieces are quite the same size, the grid needs room to absorb that difference, and that room is what the rest of this page is about.
Last updated: 2026-08-14
4x4 Tile Pattern
Opuslay — tile layout worksheet- Walls:
- 1 · 0.6 m high
- Widths:
- W1 1.22 m (Tile centered)
- Units:
- Metric (cm / m²)
- Vertical anchor:
- Bottom
- Layout angle:
- Straight
- Tile colours:
- Single colour
Material breakdown
| Format | Qty / Pattern | Share | Qty / Walls | Area / Walls |
|---|---|---|---|---|
| 10x10 cm | 1 | 100.0% | 78 | 0.73 m² |
| Total | 1 | 100% | 78 | 0.73 m² |
What you'll need to buy
Tiles to buy
| 10x10 cm | 82 tiles | 0.82 m² |
Total 82 tiles · 0.82 m² (incl. 12% cuts & breakage)
Adhesive & grout
- Thin-set adhesive: ≈ 2.0 kg (1 × 50 lb bag) — recommended trowel: 6mm notch
- Grout — the tile sets the joint width, not you:
- ≈ 0.7 kg (1 × 10 lb bag) — 3mm joint, rectified / tight-set tile
- ≈ 1.1 kg (1 × 10 lb bag) — 5mm joint, natural or non-rectified tile
Adhesive: allow a little over on an uneven substrate, or if you back-butter large tiles — both eat more than a flat bed.
Grout: the 25 lb bag is the usual size (10 lb for small jobs). Buy it in one go and stick to a single bag size: bags from different batches can dry to slightly different shades.
It's the tile that decides the joint, not the setter — dry-lay a section to find your width. Assumes 9.5mm tile depth; adjust for your product — thicker tiles need more.
Share & export
Save the 4x4 Tile Pattern layout to your moodboard, or send the link to your tiler — it reopens with your room dimensions.

About the Zellige Tile Pattern
Zellige is cut and glazed by hand, so no two pieces leave the workshop exactly alike: the edge wanders a little instead of running dead straight, the face isn't perfectly flat, and the glaze pools and thins unevenly as it fires. That variation is not a flaw to plan around — it is the material, and a batch that came out perfectly uniform would not read as zellige at all. What it means for a drawing is narrower than it sounds: the tile shape and the grid stay exactly what they are for any 4x4 square, so a layout tool doesn't need to change how it counts or cuts. What does change is what happens at the seam between two tiles, since that seam is now where a real difference in size has to go.
The rule Opuslay applies across the site is simple: a grout joint should run at least three times the real size variation across the tiles in a batch, so the joint has somewhere to put a difference instead of forcing it into the grid. On a rectified porcelain that variation is close to nothing, so a narrow joint is plenty; on hand-cut zellige it is visible to the eye, so the joint has to widen to match — our guidance for this material starts at 3/16" (about 5mm), and often runs wider depending on the batch you're actually setting. A joint held at 1/8" or under has nowhere to send that difference: it accumulates tile by tile along a run, and a wall that started square finishes noticeably out of true by the far corner.
Installing Moroccan Zellige Tile
Before any adhesive goes down, spend an hour laying out a stretch of the actual batch dry against the wall or across the floor. A pallet of zellige runs from tighter to looser pieces mixed together, and a dry layout is what lets you see that range before you're committed to it — you can spread the largest and smallest pieces through the run instead of discovering them all bunched together at the end of a row. It isn't a formal step in any specification, just a habit worth the time it costs, and it pays off exactly where a small irregularity would otherwise surprise you.
Set zellige to a chalk line or a string course, not to a plastic spacer. A spacer assumes every tile is exactly the same size, and on a batch that isn't true, forcing a fixed spacer at every joint just carries the error from one tile into the next instead of correcting it. Working to a line lets the setter widen or narrow an individual joint by eye to keep the overall row straight, absorbing a slightly oversized or undersized piece where it falls rather than letting it push the whole course out of square. It's a small change in method, and it's the difference between a wall that reads deliberate and one that visibly drifts.
Zellige earns its keep on a vertical plane you look at up close — a backsplash, a shower wall, a fireplace surround — where the light rakes across the surface and the small variation in every tile reads as texture, not a defect. It asks more of a large floor: a bigger area means more running length for the same joint to absorb, and any dip in the substrate shows through a handmade tile faster than through a flat, rectified 12x12. None of that rules a floor out — it just means the substrate has to be flatter than usual, and the joint has to stay wide enough to earn its keep across the whole run.
Frequently Asked Questions
What grout joint width should I use for zellige tile?
Start at 3/16" (about 5mm) and expect to go wider, not narrower, depending on the batch. That figure comes from a simple rule: the joint should run at least three times the real size variation across the tiles you're actually setting, and a hand-cut zellige varies more than a rectified tile does. A joint at 1/8" or under leaves nowhere for that difference to go, and it accumulates along the run.
How many zellige tiles do I need for my room?
The same as any 4x4 tile: Opuslay lays the straight grid out against your actual room and counts the whole tiles and the cuts at each edge. The handmade look doesn't change any of that arithmetic — the calculator draws the irregular edges and chipped corners for effect, but it still counts on the nominal grid, because the count depends on the room, not on any one tile's shape.
Is zellige tile laid in a running bond or only a straight grid?
Straight grid only, on this page. Zellige is almost always set stack bond — every joint lining up in both directions — because the small square module gains little from an offset, and a straight grid makes any drift between pieces easier to see and correct as you go. A running-bond version isn't wrong, it's simply a different, much rarer choice for this material.
Can zellige tile go on a floor, or is it wall-only?
Both, though wall is far more common. On a wall, the small variation between tiles reads as texture and the joint does its work without much load on it. On a floor, the same variation meets foot traffic and a substrate that has to be flatter than usual, so floor installations lean toward a wider joint still and a more carefully prepared base underneath.
How does zellige tile differ from an ordinary 4x4 tile?
The layout and the count are identical — both are a straight grid of 4x4 tiles, and Opuslay counts them the same way. What differs is the material and the joint: zellige is hand-cut and varies piece to piece, so it needs a wider grout joint than a flat, machine-made square. For the same format without the handmade variation, see the 4x4 tile pattern page.